Are you considering re sodding your lawn in Minnesota? If so, you’re in luck!
This guide will provide you with all the information you need to get the job done right.
Re sodding your lawn in Minnesota can be a daunting task, but it’s definitely worth it when you see the results.
In this guide, we will discuss everything from preparation to installation.
We’ll also answer some of the most common questions people have about re sodding lawn.
So if you’re ready to give your lawn a fresh start, keep reading!
Ultimate Guide To Re Sodding Your Lawn
Re Sodding Your Lawn: step #1
The first step in re sodding your lawn is to prepare the area. This means removing all the existing grass and weeds from the ground.
You can do this manually or with a herbicide. Once the area is clear, you’ll need to till the soil to loosen it up.
This will help ensure that your new sod has a good foundation to grow in.
Re Sodding Your Lawn: step #2
Next, after you have removed a layer, it is time to add back a layer of topsoil. You want to make sure that the topsoil is level before you lay down the new sod.
If there are any dips or bumps in the ground, your new sod will not lay flat and the end result will not be as pleasing.
Re Sodding Your Lawn: step #3
After this step is done properly, it is time for a lawn roller; you need to roll the lawn with a drum roller because this will show you how to level your lawn is and if you need to do another round of leveling before re sodding lawn.
Re Sodding Your Lawn: step #4
Now it’s time to choose your sod! There are a few things you’ll need to consider when making this decision.
First, think about the climate where you live. Certain types of sod do better in warmer climates, while others thrive in colder areas.
You’ll also need to take into account the amount of sunlight your lawn receives.
Some types of sod are better suited for shadier areas, while others need plenty of sun to grow properly.
Related topic: Sod Installation & Care: DIY Vs Professional Landscaping Services
Re Sodding Your Lawn: step #5
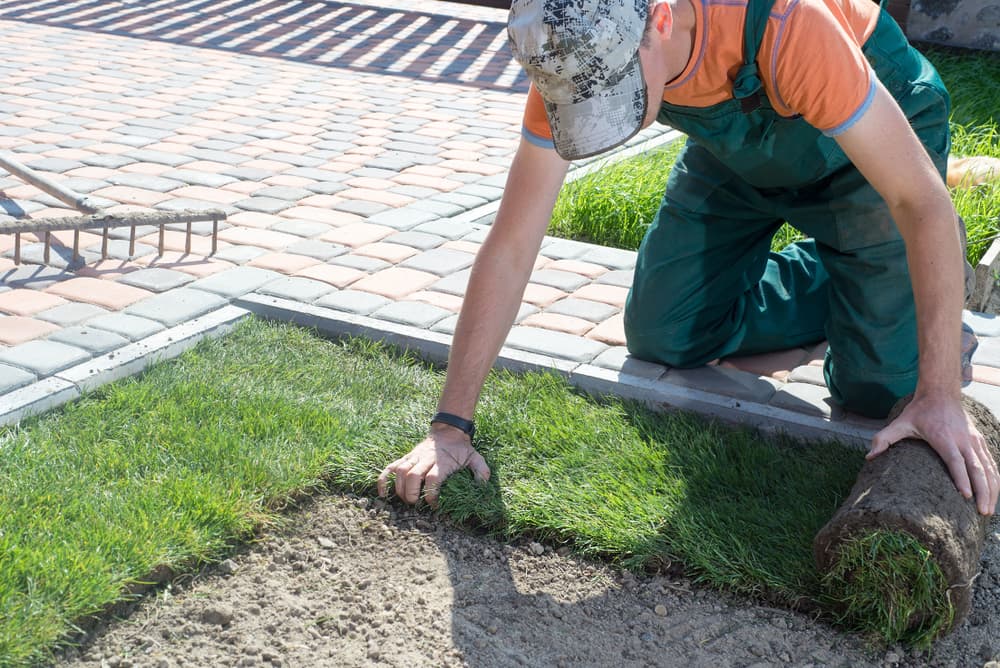
Once you’ve chosen the right type of sod, it’s time to install it!
This can be a bit tricky if you’ve never done it before, so be sure to follow the instructions carefully.
The most important thing is to make sure the sod is in contact with the soil. If there are any gaps between the two, the sod will not grow properly.
When re sodding your lawn, you need to make sure that you install the sod in a brick pattern and against any slop to prevent it from sliding.
Re Sodding Your Lawn: step #6
Next, you will need to cut the edges of the lawn border. Use a sod knife or any other sharp knife to cut the desired shape to create a beautiful-looking border.
Re Sodding Your Lawn: step #7
After, this is done, make sure to roll the newly installed lawn again with a drum roller (only half full) in order to make sure that the lawn touches the soil surface and avoid air pockets that might prevent your grass from growing.
Re Sodding Your Lawn: step #8
Once your new sod has taken root, it’s time to start taking care of it! Be sure to water it regularly and keep an eye out for pests and diseases.
With a little bit of care, your re sodded lawn will be thriving in no time!
If you’re thinking about re sodding your lawn, be sure to follow this guide.
It will make the process a lot easier and ensure that you get the best results possible.
If you do not want to deal with it, let a sodding company deal with it and enjoy the results. Good luck!